Everyone has their preferences, and I have mine. As I start the blog I'm finding myself setting up a laptop I haven't used in a while. So I have to do some configuration before I get started. I figured it might be helpful to some people to share how I prefer to configure my terminal on a new system.
First off, I prefer to develop on Ubuntu. I'll bounce between various operating systems depending on the project I'm working on, but I find the majority of my work is easier to accomplish in Ubuntu. Currently, I'm running Ubuntu 16.04 LTS. I decided to stick with the LTS versions of Ubuntu a while ago after realizing the pain of constant year to year (or every 6 months if you jump on the *.10 bandwagon). The latest and greatest is nice sometimes, but that comes with the cost of dealing with potential bugs and other problems.
On any development system of mine, I'll spend most of my time in an IDE, but I'll often find myself jumping to the command line for any number of tasks, so having a nice shell and terminal is a must. I like to keep what I consider a pretty simple stack, I'll use the standard GNOME terminal, with tmux, and fish shell. I also use vim as my primary text editor though its a close second to atom. So lets get down into the details now.
The Stack
GNOME terminal
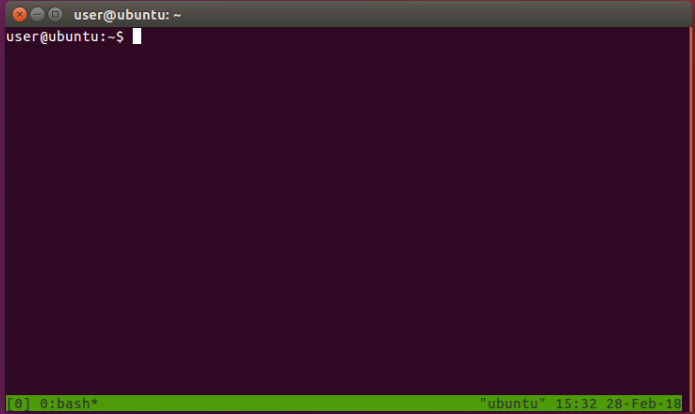
The GNOME terminal is one of a few terminal options available on a default install of Ubuntu, and is conveniently set to the default terminal. It can be opened simply by typing Ctrl+Alt+t. You can customize the look and feel of the terminal to however you like it by selecting Terminal->Preferences->Profiles and either creating a new profile or editing the current one. I don't like the standard GNOME colors so I'll change my color scheme to green on black and make the background semi-transparent so if I need to see something in a window behind my editor I won't have to switch back and forth as much.

tmux
tmux is a powerful terminal multiplexer. It allows you to have multiple sessions, panes, and windows and interact with all of them from the command line. This is really helpful when you need to do multiple actions at the same time, for example, modifying a program, executing the program, and monitoring system performance.
To install tmux and get started with it:
sudo apt install tmux
tmux
fish shell
Fish shell is an alternative to bash, the default shell in Ubunutu. There are other alternative shells, Zsh being one of them. The shell you pick, whether its your default shell, Zsh, or fish is yours to make. Consider your requirements and desires. I personally prefer fish due to its command line highlighting, and easy scripting (plus a few other things). But again, make sure your requirements match what you take. I've worked on projects that use bash scripts all over the place where in most cases it was just impractical to consider using anything other than bash.
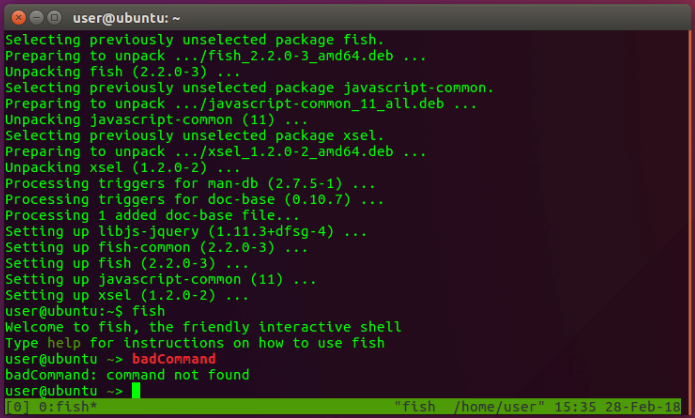
To use the latest version of fish, you should go to their website, but if you want to quickly get started with it in Ubuntu simply type:
sudo apt install fish
fish
vim
Vim is a terminal based text editor. There are alternatives to vim such as Emacs and Nano. If you're unfamiliar with terminal based text editors, Vim might be a hard place to start, but I suggest looking up a few tutorials and giving it a try. As with most tools, what you use should be dependent on what you need those tools for. For some anecdotal scenarios of when one type of tool might be preferred over another:
- When I'm on a laptop or using a single screen, I heavily prefer terminal based editors because it limits the necessity for a mouse and I can get a lot done quick.
- When I work on complex projects like Android, I prefer an IDE because it abstracts a lot of complex tasks that might otherwise require some some difficult configuration.
- I find editing simple scripts is easier in a terminal based editor because you can switch back and forth between your editing and execution environments easier.
- When navigating unknown temporary projects, like when I'm reverse engineering an Android application, I'll use Atom because I find it easy to quickly traverse directory trees and install plugins for parsing certain file types.
You may not need vim, but I find it highly useful in many of my day-to-day activities. In fact, you'd probably be out of luck if you tried to find me without it open up front or in the background somewhere. There's just too many situations where I find myself editing configurations or scripts during a project.
There are a significant number of arguments and decisions to be made on the the topic which could easily fill a book, so enough about why I use vim, or why you may or may not need it. Let's get to the simple part, how do I setup vim?
First things first, ensure vim is installed:
sudo apt install vim
Next, we're going to do some customizations. We're going to install Vundle. Vundle is a plugin management system for vim. It is very quick and easy to setup. There are a lot of powerful plugins out there that make vim easy to use for a lot of tasks. I like to load in a few different plugins to make my life easier:
- YouCompleteMe. A code completion plugin that supports a few different languages including (but not limited to) C, Rust, Go, and Javascript.
- NERDTree. A file tree utility that you can use to easily visualize and navigate a directory structure.
- plasticboy/vim-markdown. A plugin that supports markdown formatting.
You don't need to limit yourself to these plugins, in fact, you might not even need them. These are just a few that I find generally useful. To implement these plugins with Vundle, simply place them in your .vimrc (at ~/.vimrc), which provides instructions to be called during vim initialization. You may need to create the .vimrc file yourself if it doesn't already exist.
An example .vimrc file:
set nocompatible              " be iMproved, required
filetype off                  " required
set shell=/bin/bash
set rtp+=~/.vim/bundle/Vundle.vim
call vundle#begin()
Plugin 'VundleVim/Vundle.vim'
Plugin 'scrooloose/nerdtree'
Plugin 'godlygeek/tabular'
Plugin 'plasticboy/vim-markdown'
Plugin 'Valloric/YouCompleteMe' " Make sure you run the YCM install script!! See website.
call vundle#end()            " required
filetype plugin indent on    " required

" Auto-start NERDTree
autocmd VimEnter * NERDTree
You can find an up to date copy of what I use as my base .vimrc here.
Tying this mess together
So now to the part that we tie everything together. If you're following this post sequentially, your terminal probably doesn't look like much right now. So lets see how to glue everything together.
First, set tmux to start by default. Add the following to the top of you ~/.bashrc:
[[ $TERM != "screen" ]] && exec tmux
Then edit (or create it if it doesn't exist) your ~/.tmux.conf to include the following at the bottom:
NOTE: /usr/bin/fish is the location of my fish shell, yours might be different. Type whereis fish to find your binary.
set -g default-command /usr/bin/fish
set -g default-shell /usr/bin/fish
Now, if you were to start a new shell, it would default start in tmux with fish!
As a little experiment, lets try the following:
-
Press
Ctrl+Alt+tto open a new terminal. Now you should be running tmux on top of fish shell looking like this: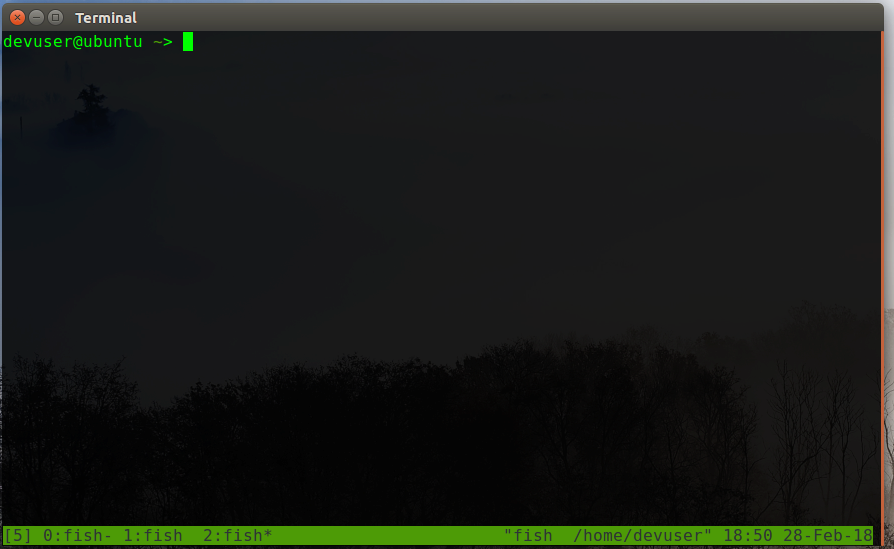 Note: I changed my background and color scheme here
 -
Type
Ctrl+bthenShift+%.Ctrl+bis known as the tmux prefix and precedes most tmux commands.Shift+%opened a new horizontal screen.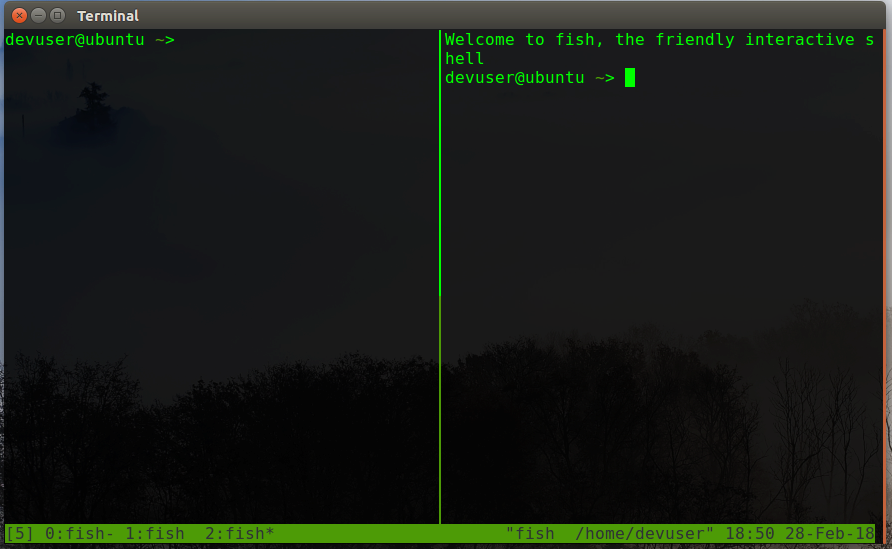
-
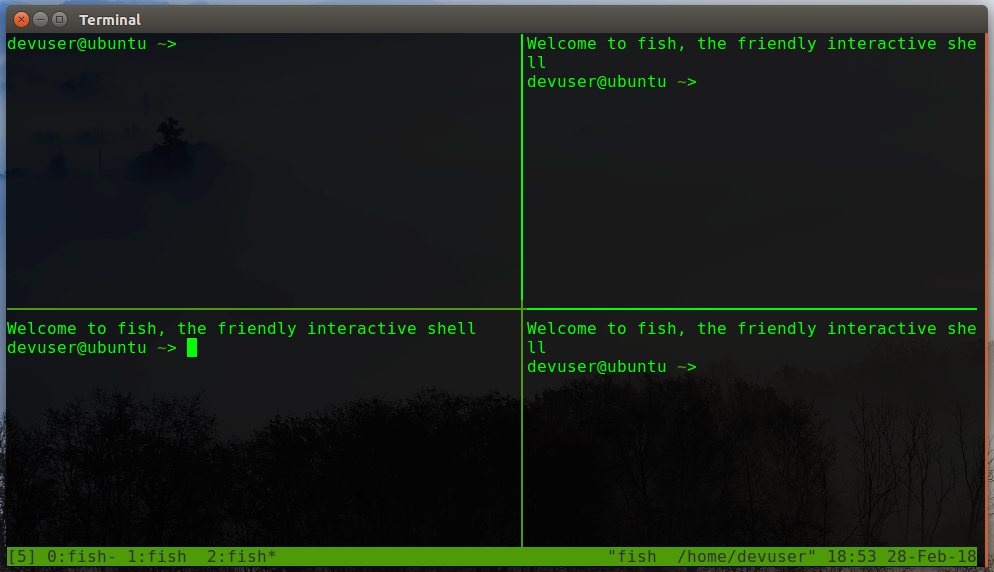
Type
Ctrl+bthenShift+". This created a new horizontal pane.
-
Type
Ctrl+bthenShift+Left Arrow. You'll notice your cursor moved to the left pane, this is how you switch between panes.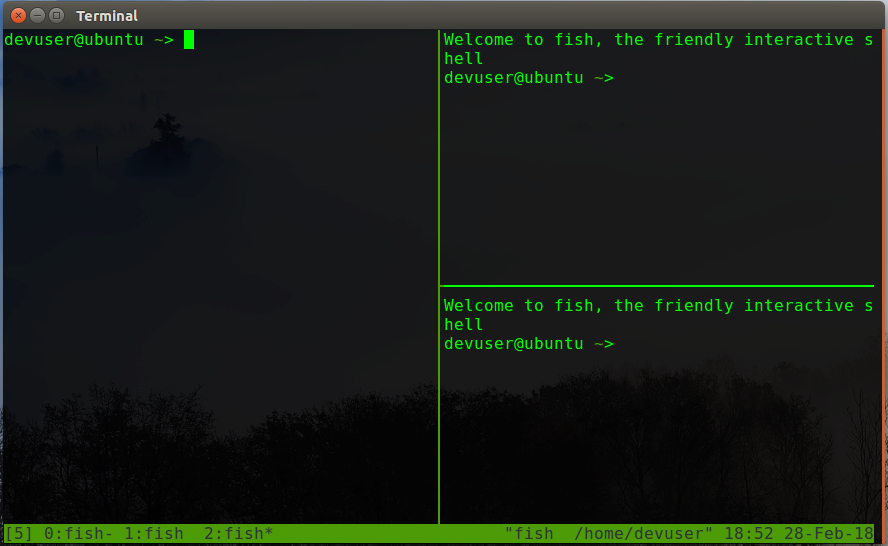
-
Repeat step 3 so you now have 4 open panes.
-
Hold
Ctrl+b+Right Arrow. Notice the pane size moves. Go ahead and play around with this a little.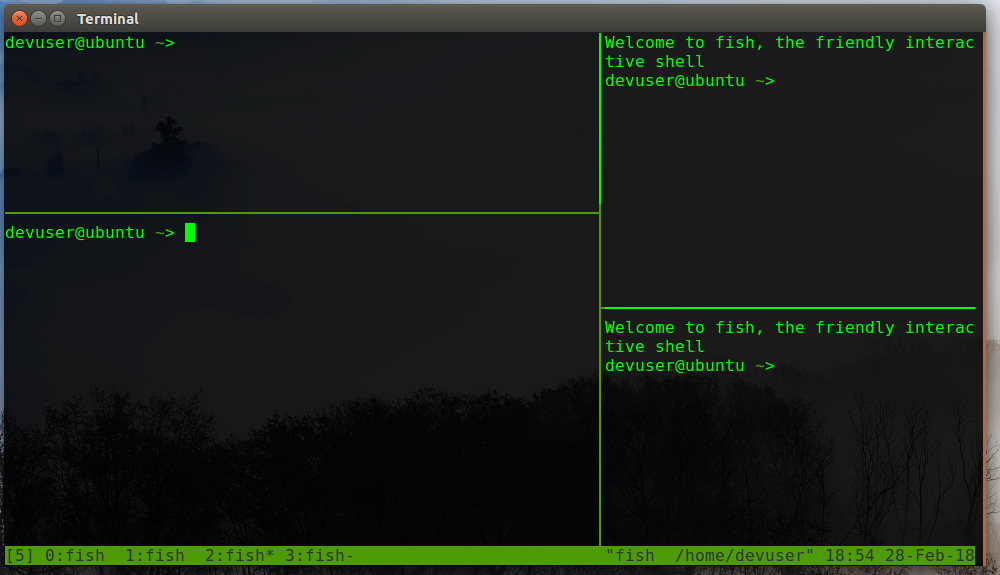
-
Now for some fun. In the top right pane, type
top. You're looking at a list of running processes now.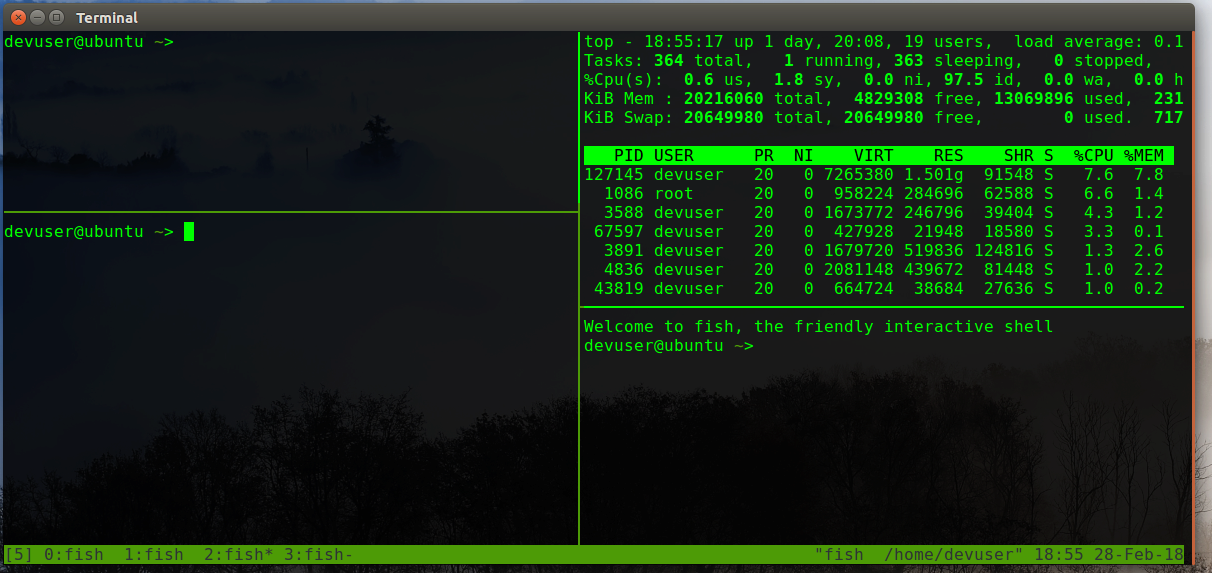
-
In the bottom right pane, create a directory named temp and navigate into it and create a
test.cfile with vimmkdir ~/temp cd ~/temp vim test.c -
Copy and paste the following code into the file:
Note: If you used my .vimrc, you'll notice that the cursor is in the NERDtree pane on the left press
Alt-wand thenRight arrowto move to the text pane. To paste, type:i->enter->Shift+insert#include <stdio.h> int main(void) { printf("Hello world\n"); return 0; } -
Now save the file.
:w->enter. Your window should now look like this: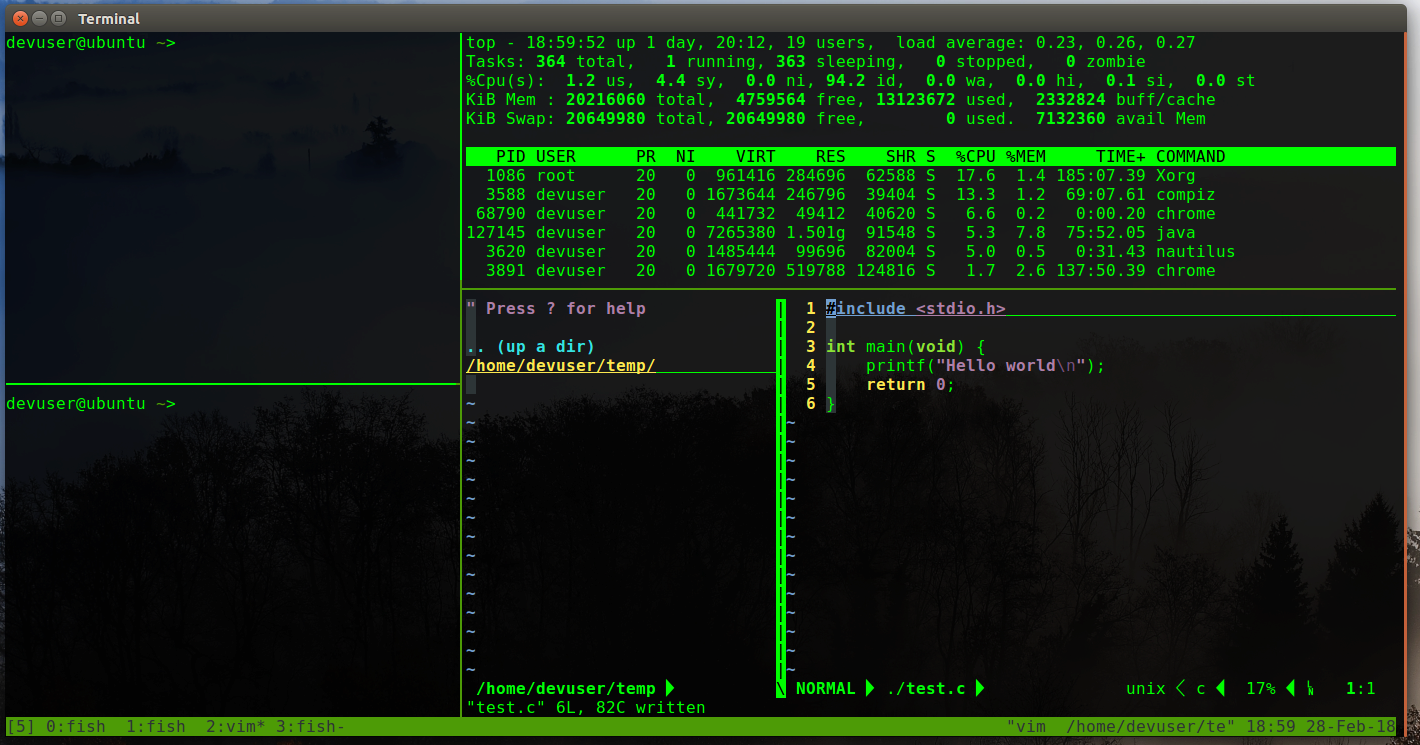
-
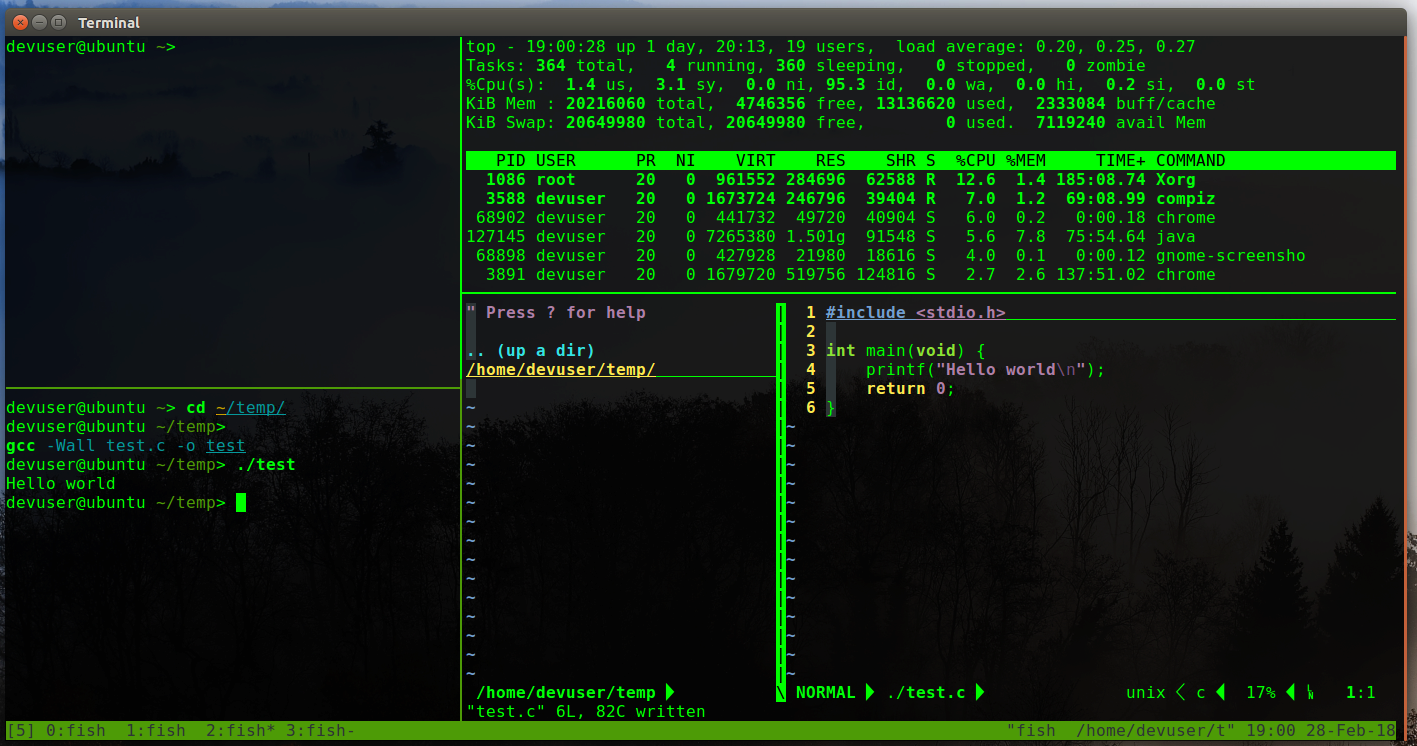
Move to the bottom left pane now, and lets build and run our C file:
C cd ~/temp gcc -Wall test.c -o test ./test -
If everything went right, you should see “Hello world” printed in your terminal.
That's all!
If you're completely new to the stack I've used here, it may be a bit intimidating. Very few people are able to just jump into this right away. It usually comes with trial, error, and frustration. If you are familiar with these topics, hopefully you've learned something too! Either way feel free to reach out to me if you have any questions!